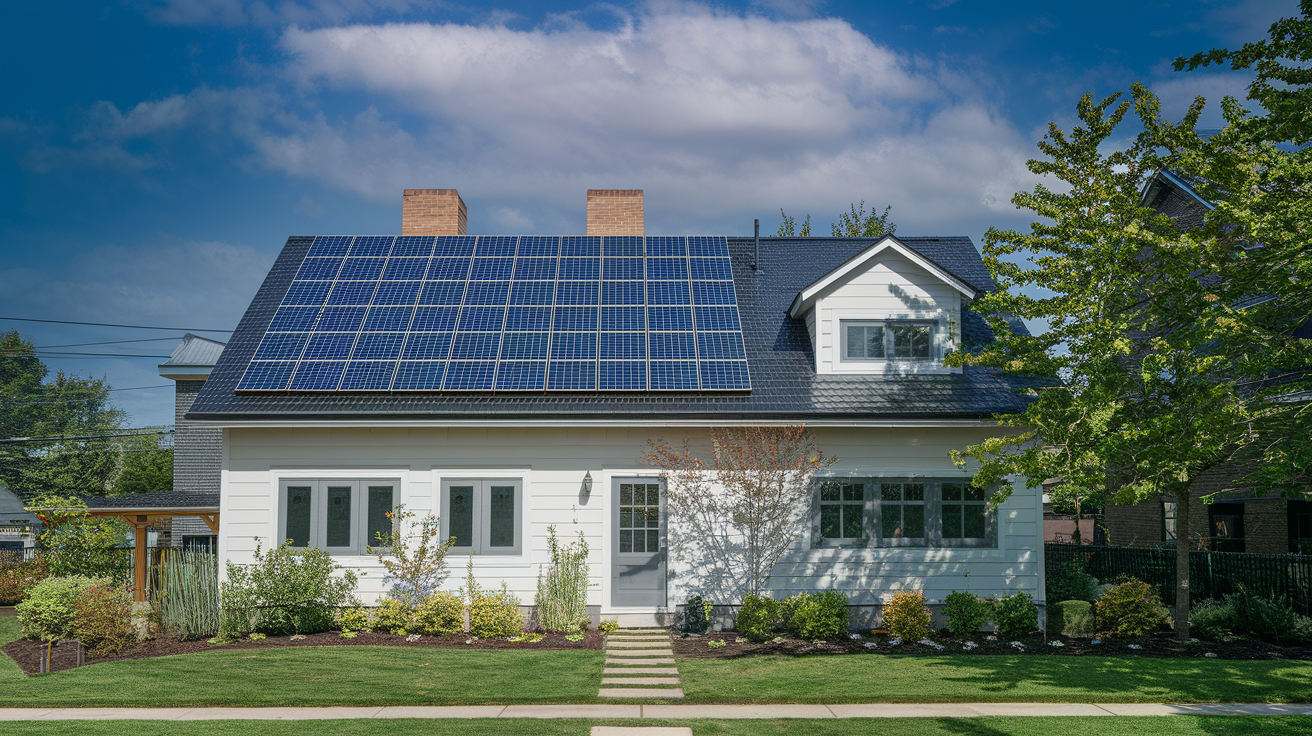
Many storms bring hail and high winds that can shatter panels; you should inspect mounts, trim trees, install impact-resistant film, and hire professional installation to reduce damage.
Key Takeaways:
- Regular inspections and maintenance: check panels, racking, seals, and wiring seasonally and after storms; tighten mounts and replace cracked glass or damaged components.
- Use wind-rated mounting and upgraded flashing: choose hardware and installation that meet local wind and snow load codes and have a licensed installer verify anchorage.
- Install impact-resistant panels or protective covers: consider tempered glass, hail guards, or removable shields ahead of severe-weather forecasts.
- Keep surroundings clear of hazards: trim trees, secure loose rooftop items, and remove debris to reduce flying projectiles and water pooling.
- Prepare an emergency plan and coverage: set up remote monitoring, know array shutdown procedures, and confirm homeowners insurance plus manufacturer warranty cover storm damage.
Common Types of Storm-Related Solar Damage
- Wind uplift
- Hail impact
- Water ingress
- Tree and debris strikes
- Mounting failure
| Wind uplift | Racking can loosen and cause structural displacement or panel detachment. |
| Hail | Glass breakage and micro-cracking reduce output and spread cell damage. |
| Water ingress | Seals fail, creating shorts and accelerated corrosion in junction boxes. |
| Falling trees | Large impacts cause frame bending, shattered modules, and roof penetration. |
| Flying debris | Sharp objects produce point impacts and can sever wiring or mounts. |
High-Wind Uplift and Structural Displacement
Winds can apply uplift forces that exceed mount design, so you should verify that rails and anchors are rated for local gusts and that fasteners remain tight after storms.
Panels that shift create stress on connections and roof interfaces, and you must inspect for warping or gaps that invite water and reduce system safety.
Hail Impact and Micro-Cracking of Photovoltaic Cells
Hailstones strike modules and can cause visible glass breaks as well as invisible micro-cracking inside cells that lowers efficiency and accelerates failure.
You should use impact-resistant glazing where appropriate and document damage with photos and performance logs to support repairs and claims.
Perceiving subtle output drops or hot spots early helps you detect micro-cracking via infrared or electroluminescence testing so you can replace affected modules before larger failures occur.
Protective Solutions: Pros and Cons of Hardening Your System
| Pros | Cons |
|---|---|
| Lower risk of panel breakage and costly replacements | Higher upfront material and installation expenses |
| Improved wind and uplift resistance with reinforced mounts | Added weight can stress some roof types |
| Possible reductions in insurance premiums | Longer permitting and inspection timelines |
| Extended system lifespan when damage is avoided | Protective covers can slightly reduce energy output |
| Targeted upgrades let you harden high-risk arrays | Maintenance of guards and drains adds ongoing costs |
| Fewer emergency repairs after severe storms | Visual impact and potential homeowner association issues |
Evaluating Mesh Hail Guards and Protective Covers
Hail mesh guards shield glass from impact and you can install them over vulnerable strings to prevent shattered cells, but you should expect a small efficiency loss and regular debris cleaning to avoid hotspots.
Reinforced Mounting Systems vs. Standard Rails
Steel-reinforced mounts increase wind ratings and you will see a reduced risk of panel detachment during storms, though they carry higher installation costs and may require structural review.
Choose certified anchors and engineered layouts so you maintain roof integrity and comply with local codes, which helps you avoid costly post-storm repairs and leaks.
Cost-Benefit Analysis of Storm-Proofing Upgrades
Assess expected repair savings, insurance incentives, and local storm frequency to estimate payback; you should weigh short-term expense against the long-term reduction in outage and replacement costs.
Compare vendor warranties, projected energy loss from covers, and potential insurance discounts so you can make a data-driven decision that balances safety and budget.
Expert Tips for Long-Term System Resilience
You should combine routine maintenance, structural checks, and targeted upgrades to protect solar panels from storm damage, focusing on weak mounts and exposed electrical connections.
- Have a pro perform an inspection annually and after severe weather.
- Reinforce racking and anchors to resist high winds.
- Install microinverters or module-level monitoring for faster fault detection.
- Clear surrounding vegetation and secure overhanging limbs to reduce impact risk.
Establishing a Seasonal Inspection Routine
Schedule seasonal checks in spring and autumn to examine fasteners, seals, wiring, and panel tilt; log findings and address defects promptly so you limit exposure to storm damage before peak wind periods.
Managing Surrounding Vegetation and Overhanging Limbs
Trim trees and shrubs so no branch can swing onto modules and keep foliage well clear to reduce shade and debris; ask an arborist to handle large limbs near your array.
Inspect growth quarterly and remove sap, leaves, and deadwood that can trap water against frames; you can add mesh guards where debris collects. Any loose branches or uncollected clippings should be removed before storm season.
Step-by-Step Protocol for Immediate Storm Preparation
| Immediate Storm Preparation Checklist | |
|---|---|
| Step | Action |
| Inspect mounts | Check clamps, fasteners, and wiring for looseness |
| Secure hardware | Tighten bolts, add straps or anchors where needed |
| Clear debris | Remove leaves, branches, and loose objects from panels and gutters |
| Enable monitoring | Activate alerts and storm-mode on inverter/monitoring portal |
| Document condition | Photograph panels, serials, and surroundings with timestamps |
Securing Loose Components and Debris Removal
Inspect panel mounts, clamps, and conduit for looseness and missing fasteners, and clear any debris that could scratch or lift panels during high winds. Use ratchet straps or roof anchors to secure vulnerable racking, and avoid working on the roof if gusts are present – do not climb during high winds.
Wear gloves, eye protection, and non-slip footwear while removing debris, and work from a stable ladder or hire a professional when needed. Keep loose tools and materials tied down because loose panels can become lethal projectiles if they detach.
Remote Monitoring and System Shutdown Procedures
Monitor your inverter app and alarm settings to spot faults and enable any provided storm-mode or scheduled shutdown features before the storm arrives. Activating the remote shutdown can prevent the system from energizing lines during hazardous conditions.
Contact your installer or utility to confirm the correct remote shutdown sequence and do not attempt complex isolation beyond your training. Any DC/AC isolation performed incorrectly risks electrical shock, so arrange a qualified technician if needed.
Documenting Pre-Storm Condition for Insurance Records
Photograph panels, racks, wiring, and nearby trees with visible timestamps and GPS when possible, and record inverter readings and serial numbers for each component. Capture a short video walking the array so you have clear pre-storm evidence for claims.
Store copies in cloud storage and email duplicates to yourself and your installer, keeping upload timestamps and a simple maintenance log to support any future insurance claim. Keep paperwork and receipts together so you can present consolidated evidence quickly.
Post-Storm Recovery and Insurance Claims
Safe Inspection Techniques for Identifying Hidden Damage
You should inspect from the ground first: use binoculars or a drone to spot cracked glass, displaced racking, or loose wiring. If you can access safely, turn off the PV system and avoid stepping on panels; do not walk on panels and watch for electrical shock hazards. Photograph findings, note inverter errors, and call a qualified installer for any rooftop checks.
Navigating Manufacturer Warranties and Insurance Policies
Check warranty paperwork and your homeowner policy for storm coverage, timelines, and deductibles; log serial numbers and installation dates. Photograph damage, save receipts, and file claims quickly to strengthen your case. Keep written estimates from contractors to support insurance claims and clarify whether repairs fall under a warranty or a storm claim.
Document everything in a single file so you can prove loss, meet claim deadlines, and show if a defect falls under a manufacturer’s warranty versus storm damage; include time-stamped photos, inverter logs, and communications. Retain copies of all correspondence to help you resolve disputes and accelerate payouts.
Final Words
From above you must anchor racking to code, choose storm-rated panels, trim nearby trees, install protective screens, and perform regular inspections to spot loose fasteners or cracked glass. You can document condition with photos, secure temporary coverings before a storm, and verify insurance and warranty coverage to speed repairs if damage occurs.
FAQ
Q: What steps should I take to prepare my solar panels before a storm?
A: Turn off or place the system in a safe mode only if manufacturer instructions and local utility rules allow safe shutdown by the homeowner; contact your installer for guidance if unsure. Clear loose items and trim overhanging branches that could become airborne projectiles. Inspect and tighten visible mounts, clamps, and conduit straps; use a professional racking inspection for roof-mounted systems when wind or storm season approaches. Secure ground-mounted arrays with additional anchoring if recommended by the racking manufacturer. Keep accessible emergency shutoffs and system documentation in a known location for first responders and service technicians.
Q: How can I protect panels from hail and flying debris?
A: Select panels with a documented hail-impact rating and tempered or laminated glass designed to withstand impact; ask manufacturers for their tested hail size and velocity specifications. Install protective screens or polycarbonate guards where local hailstorms are common, taking care that any additions do not void the panel warranty or impede airflow. Place inverters and sensitive electronics in sheltered or elevated enclosures to prevent direct hits. Maintain a clear zone around the array by trimming trees and removing loose roof items to reduce the risk of debris strikes.
Q: What racking and mounting features reduce wind damage risk?
A: Choose racking systems rated for the local wind speeds and uplift conditions specified by regional building codes and the project structural analysis. Use manufacturer-recommended fasteners, flashing, and roof penetrations installed by certified crews to avoid pullout or leaks under load. Lower panel tilt angles for expected storm seasons when practical, since a reduced profile cuts wind uplift forces. Add cross-bracing, stronger anchors, or storm brackets on exposed sites according to an engineer’s recommendations for high-wind areas.
Q: What should I do immediately after a storm if I suspect damage?
A: Turn off the PV system only if directed by your inverter’s emergency procedures or by your installer; prioritize personal safety and avoid walking on wet or debris-covered roofs. Photograph all visible damage to panels, racking, roof coverings, and nearby structures for insurance and warranty claims. Contact your solar installer and insurance company to report the damage and request an onsite assessment; follow their instructions for temporary tarping or securing until professional repairs can be made. Keep power lines and downed conductors isolated and report hazards to the utility.
Q: How do maintenance, inspections, and insurance reduce long-term storm risk?
A: Schedule periodic professional inspections to spot loose mounts, corroded hardware, or degraded seals before a storm magnifies those issues. Perform routine cleaning to remove debris, leaves, and accumulated grit that can hide damage or create hotspots; document inspections and maintenance for warranty support. Add coverage for solar equipment to your homeowner’s insurance and verify whether the policy and the panel warranty cover storm damage and business interruption if supplying a commercial system. Keep installer and warranty contact information readily available and establish a service plan for rapid post-storm response.